Laminate Flooring Replacement: Albany Guide


Laminate flooring typically lasts 15 to 25 years before replacement, while budget options may need attention sooner and quality materials with careful installation can last longer. The right decision depends less on the calendar than on moisture, wear, movement, and the condition beneath the planks.
A homeowner in Albany, Schenectady, or Troy often starts thinking about replacement after noticing the same worn path through the living room, a raised joint near the kitchen, or swelling around an exterior door. Sometimes one plank can be repaired. Sometimes the floor has reached the point where patching only delays a larger project.
Is Your Laminate Flooring Ready for Replacement?
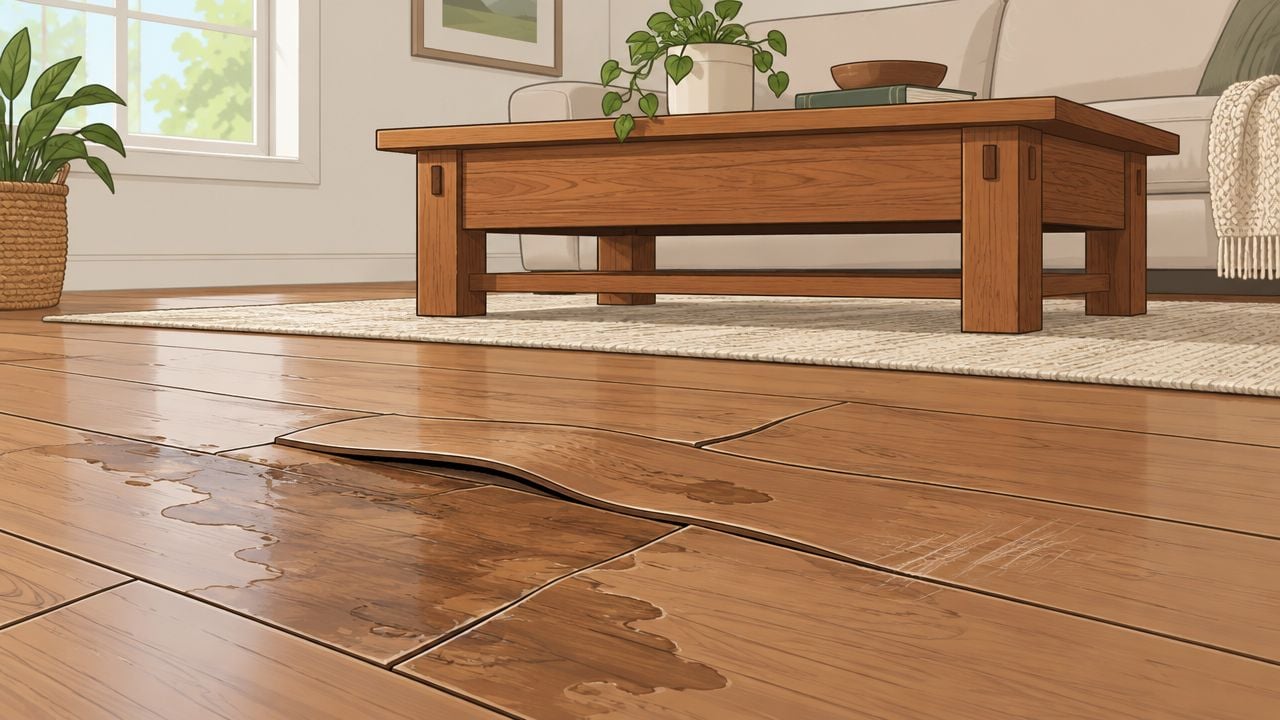
The first question is whether the damage is isolated or widespread. A single chipped plank, a small surface scratch, or a separated seam in an otherwise stable floor may be repairable. A floor with repeated swelling, buckling, or joint failure usually needs more than a cosmetic fix.
Laminate has no practical refinishing cycle. Once moisture has permanently swollen the core or wear has broken through the decorative layer, sanding won't restore it. Common end-of-life symptoms include edge swelling, joint separation, and irreversible water damage. BuildMat Insight's technical summary also connects premature problems to installation and environmental conditions, not just defective materials.
Repair or replace
A practical inspection starts with four checks:
- Surface wear: Fading, scratches, and a dated color can justify replacement for design reasons, but they don't always indicate structural failure.
- Plank damage: One or two damaged boards may be replaceable if matching material is available and surrounding click joints remain sound.
- Moisture damage: Swollen edges, darkened seams, soft spots, or buckling near plumbing and doors point toward removal and moisture correction.
- Movement problems: Peaking, repeated separation, and springy areas suggest subfloor or perimeter-movement issues that a new top layer alone won't solve.
Laminate replacement often becomes part of a larger remodel or resale refresh. Homeowners commonly make the change around the 15-to-20-year mark, even when the floor still functions, because styles, furniture, and room use have changed. The broader residential replacement market matters here. Catalina Research reporting places U.S. laminate sales at $878 million in 2025, across 734 million square feet, with replacement accounting for 82.6% of sales. Floor Covering Weekly's category report shows why replacement remains central to laminate demand.
Practical rule: If the same problem appears in several rooms, investigate the floor system rather than replacing only the most visible plank.
For Albany-area homes, moisture deserves special attention. Older properties, concrete slabs, entryways, and below-grade rooms can expose laminate to conditions that shorten its useful life. Homeowners comparing materials can also read the Savera guide on vinyl before deciding whether laminate still suits the room. For high-traffic spaces, the guidance at Tip Top's flooring resource can help frame the selection around daily use rather than appearance alone.
Preparing for Laminate Flooring Removal
A durable replacement starts before the first new plank is opened. Removing the existing floor carefully protects the subfloor and exposes the conditions that caused the old floor to fail.
Begin by clearing furniture, removing shoe molding or base trim where necessary, and marking transitions between rooms. Floating laminate usually comes apart from the wall side by reversing the click connections. A pry bar and tapping block can help, but force should stay controlled. Rushing this step can damage the subfloor or break trim that could otherwise be reused.
A careful assessment sequence
- Expose the subfloor. Remove enough flooring to inspect the full working area, not just the visibly damaged section.
- Check flatness. Low and high areas can prevent click joints from locking properly. Correct unevenness before installation.
- Check moisture. Concrete and below-grade areas need particular care. Residual moisture can damage laminate, and EPLF underlay guidance explains how vapor-control performance relates to underlay sd values. Practical guidance for certain applications recommends at least 75 m sd value.
- Inspect structure. Loose panels, damaged wood, soft areas, and movement underfoot need correction before the floor is covered.
- Plan the perimeter. Installation guidance commonly specifies an expansion gap of about 8 to 10 mm around walls, door frames, fixed units, and pipes. Larger rooms may need more allowance.
Underlayment is part of the installation system, not an optional cushion. It can smooth minor surface irregularities, absorb sound, and help control moisture migration. Separate products commonly use foam, felt, or cork, and typical laminate underlayment thickness is 2 to 3 mm. Consumer underlayment guidance also notes that planks with pre-attached underlayment shouldn't receive a second layer beneath them.
A concrete slab, especially in a lower-level room, shouldn't be treated like a wood subfloor. The installer should confirm the product's moisture requirements, select compatible underlayment, and preserve movement space around fixed objects. Poor preparation is the most expensive shortcut in laminate flooring replacement.
DIY Installation Versus Professional Installation
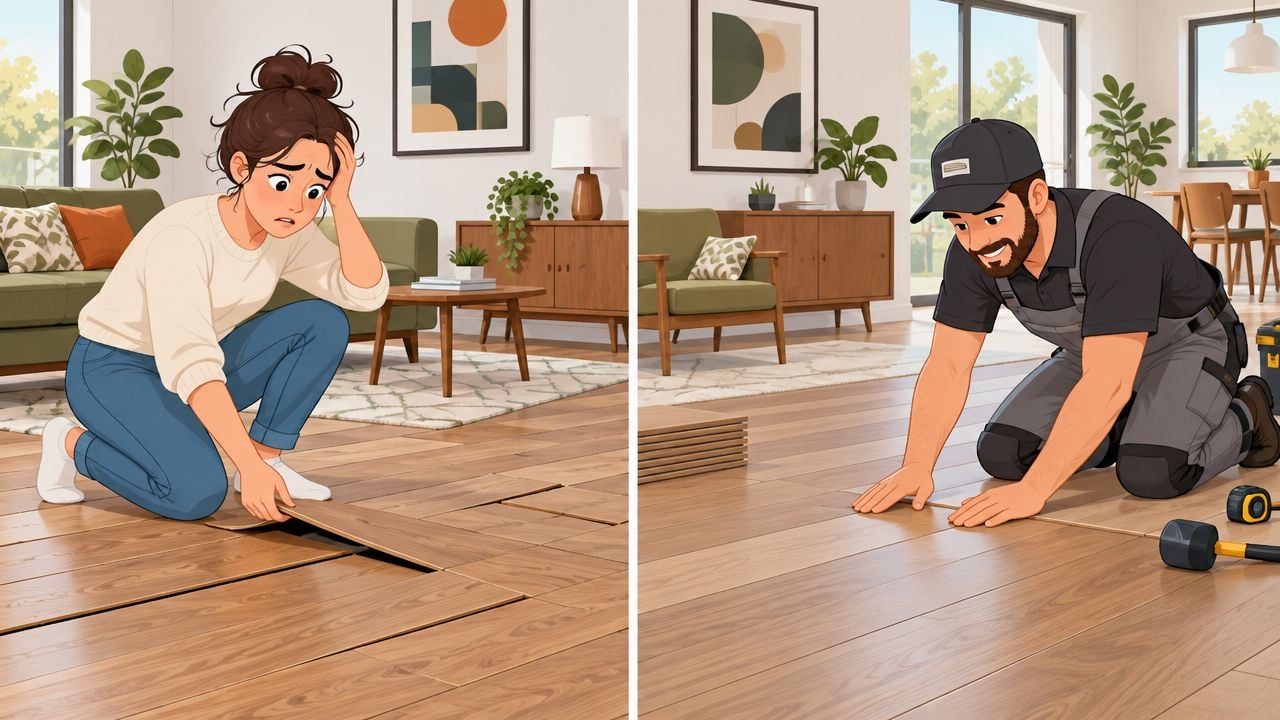
DIY laminate installation can work in a simple, dry room with a sound subfloor, a straightforward rectangle, and a homeowner comfortable with accurate measuring and repetitive cutting. It becomes less attractive when the project includes stairs, multiple transitions, built-ins, doors, or an older floor with uncertain conditions.
The material itself may click together neatly, but the result depends on what happens around the edges and underneath. A floor can look complete on installation day and still develop separated joints or raised areas when the subfloor, moisture level, or expansion space is wrong.
When DIY makes sense
A capable DIY homeowner should be prepared to:
- Measure carefully: Account for doorways, closets, transitions, and the direction of the boards.
- Use the right tools: Cutting equipment, spacers, a tapping block, a pull bar, and protective equipment all matter.
- Protect the click edges: Damaged locking profiles can create gaps that appear after installation.
- Manage trim: Door casings may need undercutting, while baseboards and transitions may require replacement.
- Test the subfloor: A visual check alone won't reveal every moisture or flatness issue.
The principal DIY advantage is control over labor expense and scheduling. The trade-off is that the homeowner absorbs removal, disposal, preparation, cutting waste, and correction if a mistake appears later. Specialty cuts around stairs and doorways can turn a manageable weekend project into a frustrating one.
When professional work earns its cost
Professional installation is the stronger choice when the floor spans several rooms or the home has complicated geometry. An experienced installer can identify subfloor movement, plan transitions, protect adjacent surfaces, and address surprises uncovered during removal.
The Home Depot cost guide lists professional installation at $2.00 to $3.00 per square foot, with the full project average at $3.80 to $4.80 per square foot. Tip Top's flooring selection guide can help homeowners organize product, room-use, and installation questions before requesting an estimate.
DIY suits a homeowner who values hands-on work and has a simple site. Professional installation suits someone who wants accountable preparation, clean transitions, and less disruption. Neither route fixes a wet or unstable subfloor without separate corrective work.
Understanding Laminate Flooring Replacement Costs
A useful estimate separates the visible boards from the work that makes them perform. Homeowners often budget for planks first, then discover that underlayment, trim, removal, disposal, transitions, or subfloor repairs change the final figure.
The published material range is broad because laminate products vary in construction and finish. The Home Depot guide lists laminate material at $0.79 to $3.00 per square foot, underlayment at $0.29 to $0.79, installation at $2.00 to $3.00, and average total project cost at $3.80 to $4.80 per square foot. That cost guide provides a useful planning framework, but an Albany-area estimate still needs a site review.
What changes the estimate
A straightforward room with an accessible subfloor usually costs less to prepare than a connected first floor with many doorways and transitions. Cost can rise when the project includes:
- Removal and disposal: Existing glued flooring, tile, or damaged underlayment takes more labor to remove.
- Subfloor correction: Uneven, damp, loose, or deteriorated areas must be repaired before the new floor goes down.
- Trim and transitions: New shoe molding, baseboards, stair noses, or reducers may be needed for a finished appearance.
- Furniture handling: Moving large pieces adds coordination and labor.
- Pattern and cutting: Angled walls, closets, built-ins, and specialty layouts require more careful fitting.
A homeowner planning a living room and hallway might compare a simple product-and-installation estimate with a higher proposal that includes trim and subfloor work. The second quote isn't automatically excessive. It may reflect the work required to prevent the same failure from returning.
For broader project planning, Home Pro's guide to remodeling costs offers useful context about how preparation and finish work affect renovation budgets. Homeowners weighing laminate against another material can also review Tip Top's laminate flooring versus hardwood cost guide before choosing a product category.
Ask for an itemized proposal
An estimate should identify the product, underlayment, removal, disposal, preparation, installation, trim, transitions, and furniture responsibilities. It should also state what happens if the installer finds moisture or structural damage after removal.
A low board price can hide a weak underlayment or incomplete preparation. The better comparison is the total installed system, supported by a clear scope of work.
Coordinating Your Flooring with Complete Room Design
New flooring changes more than the surface underfoot. It affects how furniture finishes read, how daylight moves through the room, and whether adjoining spaces feel connected or pieced together.
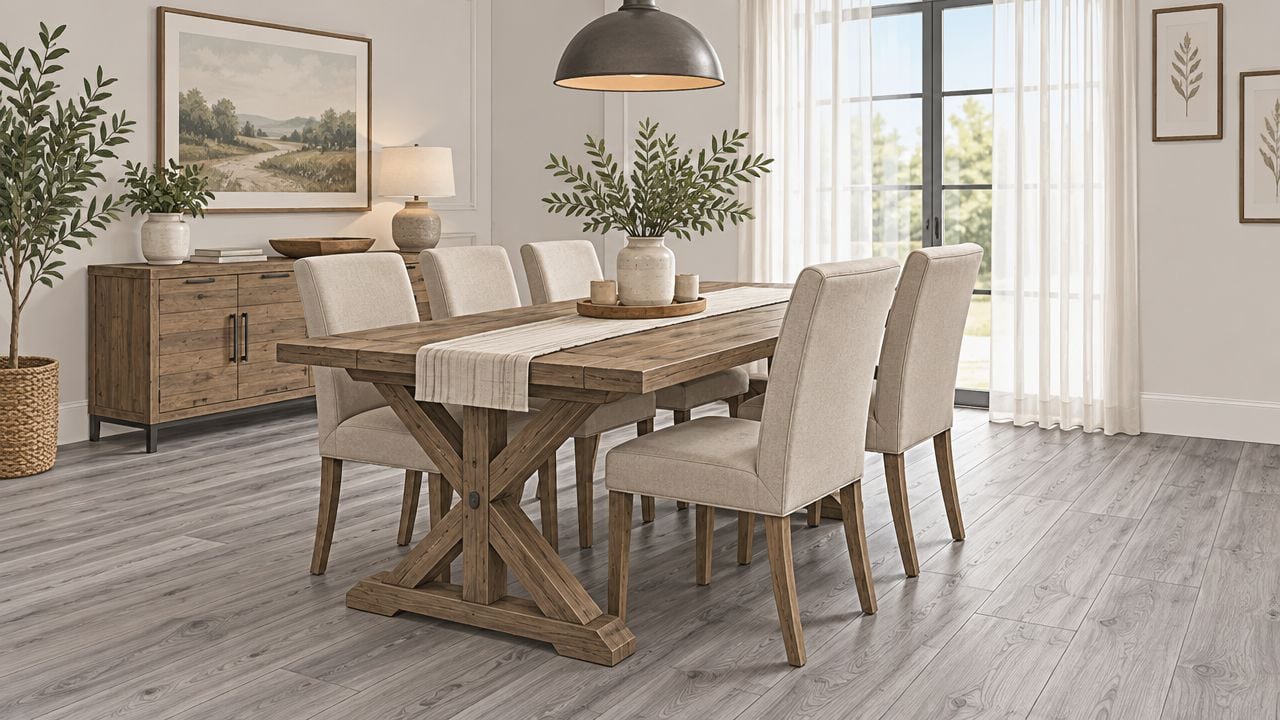
Start with the pieces that are staying. A warm wood dining table may pair naturally with flooring that has related undertones, while a cooler gray floor can fight against reddish furniture finishes. The goal isn't to match every wood exactly. It's to create a deliberate relationship among the floor, upholstery, wall color, window treatments, and décor.
Make samples earn their place
Floor samples should be viewed in the actual room during morning, afternoon, and evening light. Artificial lighting can make undertones appear different, and a sample that looks balanced in a showroom may look much warmer or cooler beside existing cabinets.
Use these checks:
- Furniture relationship: Place samples beside wood, fabric, and painted finishes already in the room.
- Room flow: Compare the proposed floor with adjoining flooring at every transition.
- Pattern scale: Wider visual boards can make a small room feel calmer, while busy variation may dominate a compact space.
- Maintenance reality: Choose a surface whose color and texture suit the household's traffic and cleaning habits.
Tip Top Furniture & Mattresses has offered professional design services since 1984, and its Freehold showroom coordinates furniture, décor, and flooring needs with local partners. Its one-stop approach can help a homeowner evaluate a floor alongside living room, bedroom, dining, and home-office selections rather than making each decision in isolation.
The showroom also carries furniture from more than 50 trusted manufacturers, along with USA-made mattresses, décor, window treatments, and flooring from more than 25 manufacturers. For Capital Region homeowners, that breadth matters when a floor replacement is part of a complete room update. Tip Top's guide to wood floor colors offers another useful starting point for comparing undertones and finish direction.
Taking the Next Steps for Your Flooring Project
A successful project begins with a short, practical fact-gathering process. Homeowners don't need every decision made before speaking with a flooring professional, but they should bring enough information to make the consultation useful.
Measure the room length and width, photograph problem areas, and note where the floor meets tile, carpet, stairs, cabinets, and exterior doors. Record any history of leaks, dampness, or seasonal movement. These details help separate a simple surface update from a preparation-heavy replacement.
Prepare for the consultation
Bring or identify:
- Room dimensions: Include closets, hallways, and irregular sections.
- Existing materials: Note whether the current floor floats, glues down, or sits over another covering.
- Design priorities: Decide whether the priority is durability, a lighter appearance, continuity between rooms, or coordination with new furniture.
- Project limits: Explain budget expectations, timing needs, pets, children, and rooms that must remain usable.
- Access details: Mention stairs, tight doorways, basement access, and furniture that needs special handling.
A showroom visit gives homeowners the chance to compare texture, color, trim, and underlayment options in person. It also allows a design consultant to coordinate the floor with furniture and décor. A local provider may offer measuring, estimates, delivery, installation coordination, custom ordering, and financing, so the homeowner should ask which parts are included in the proposal.
Not every laminate problem requires full replacement. A damaged countertop is a different repair category, and homeowners who need that separate project can review guidance on how to fix chipped laminate countertops yourself. For a living room floor decision, Tip Top's living room flooring guide keeps the discussion focused on traffic, furniture placement, and the room's purpose.
The strongest next step is an in-person evaluation before purchasing materials. It protects the budget, confirms subfloor requirements, and gives the homeowner a realistic plan for removal, installation, transitions, and finishing work.
Visit Tip Top Furniture & Mattresses at the Freehold, NY showroom to compare laminate flooring, furniture, décor, and complete-room options with local design support. The family-owned store has served the region since 1978 and also offers delivery, flexible financing, custom ordering, and a Clearance Corner for homeowners managing a replacement budget.