Window Treatments DIY: Plan, Measure, and Install Like a Pro

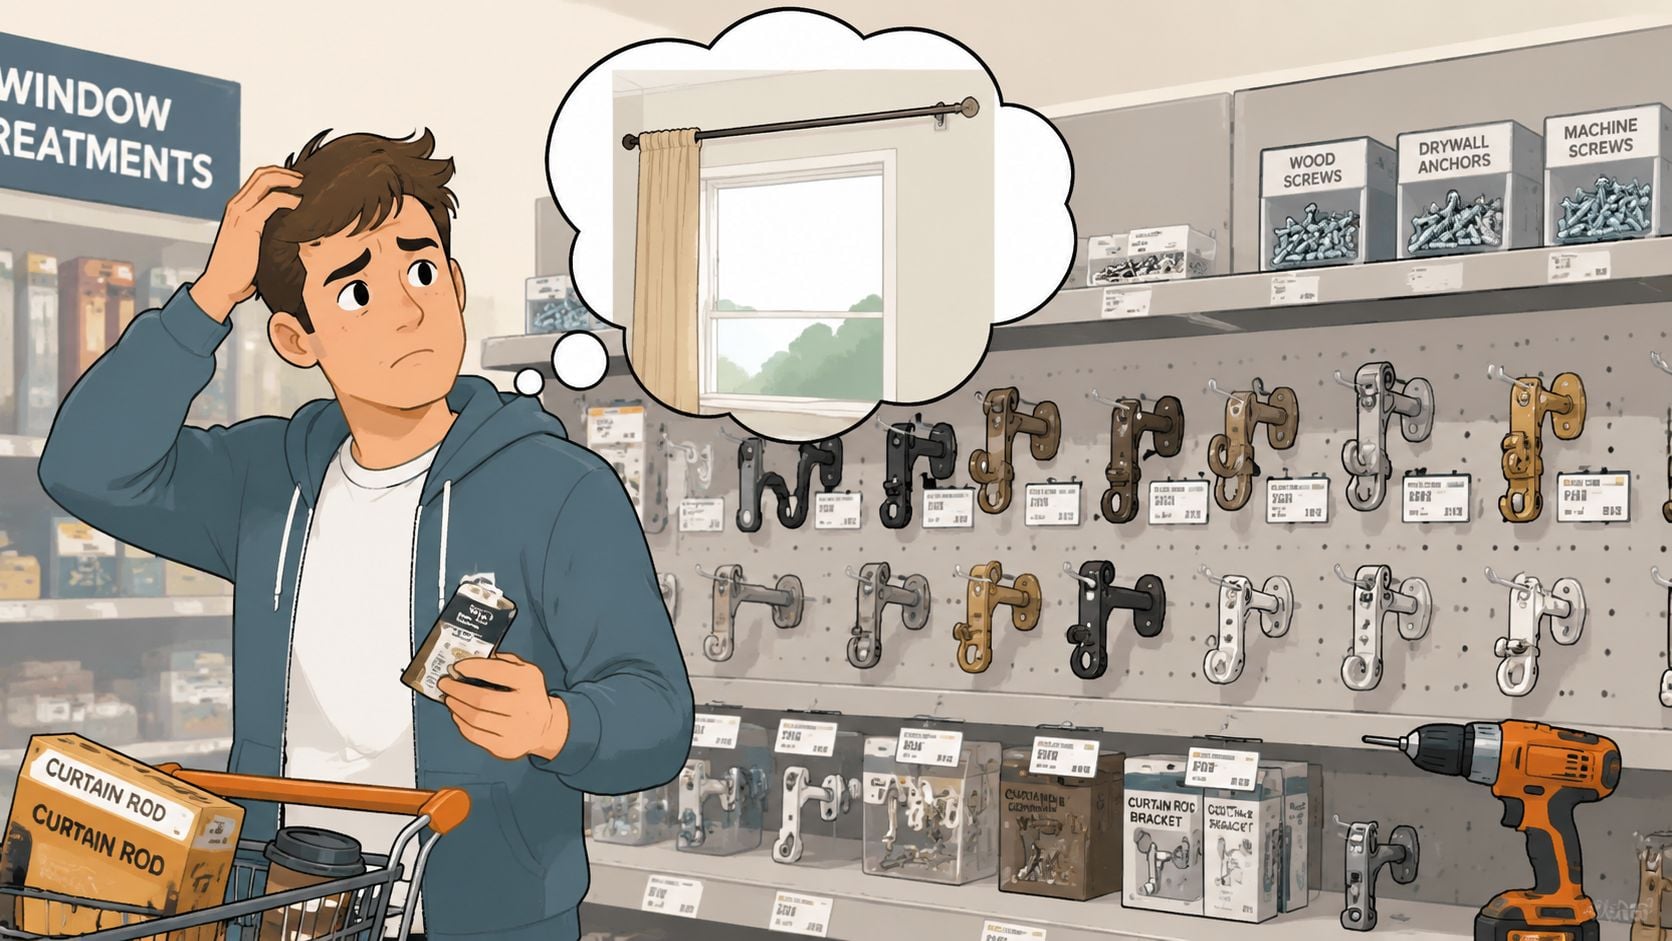
You've chosen the fabric, saved the inspiration photo, and bought the curtain rod. Then the project reaches the hardware aisle, where the brackets, screws, wall type, and window measurements suddenly seem less straightforward than they did at home. That moment is common, especially when a window looks square but the frame isn't, or when a treatment that seemed perfect in the showroom leaves bright gaps at the sides.
Successful window treatments DIY projects begin before the drill comes out. The right mount, light-control goal, and open position matter as much as color and fabric. With careful measuring and a realistic view of the installation, homeowners across Freehold, Albany, Schenectady, Troy, and the wider Capital Region can avoid the small mistakes that create expensive rework.
Why Most Window Treatment Projects Go Sideways
Successful window treatments DIY work starts with three decisions made before ordering: how the treatment will mount, how much light it must control, and where it will go when open. These choices shape the hardware, clearance, fabric, and final appearance more than a package photo can show.
- Mount direction: An inside mount fits within the opening and gives a clean, fitted look. An outside mount covers part of the frame or surrounding wall, which can work better when the opening is shallow, uneven, or out of square.
- Light-control priority: Bedrooms and media spaces often need blackout coverage. Diffused fabrics suit rooms that should retain daylight, while decorative panels may add softness without controlling much light.
- Open position: Reserve space for the treatment. Curtains stack beside the glass, shades roll or fold above it, and blinds need clearance around handles and cranks.
Small omissions create expensive rework. A rod that is too narrow leaves fabric over the glass, even when the panels are open. An inside mount in a deep jamb can hide the hardware or block a crank handle. An outside mount hung too high may make the room feel shorter. Uneven frames also create light gaps that are easy to miss until the treatment is installed.
Start with the window's job
A bedroom window may call for privacy and darkness. A kitchen window benefits from easy cleaning and moisture resistance. In a living room, glare control may matter more than full blockage because the view still has value. The room's function should determine the treatment category before style narrows the selection.
Layering can improve privacy and light control, but it adds brackets, projection, alignment, and stack-back calculations. Layered shades, sheers, and drapery can suit different rooms, as can natural materials, but every added layer must have a clear job. If the frame is out of square or the wall cannot support the required projection, a design that looked simple can become difficult to install and costly to correct.
Before buying, check the frame with a level, open the window fully, and mark the space the treatment will occupy when pulled aside or raised. That quick check often reveals the point where a DIY project needs custom help from the Freehold showroom.
Showroom check: Confirm the mount, light goal, open space, and hardware clearance before drilling. If one condition conflicts with another, solve the measurement or mounting problem first.
Measure Twice and Budget Once Before You Buy
A window can look identical to the one beside it and still measure differently. An out-of-square frame, a projecting handle, or a missing bracket can turn a low-cost purchase into replacement hardware, return shipping, extra fabric, or a second installation attempt. Measure and budget together, and record each window separately.
Use a steel or metal tape measure. Record dimensions to the nearest 1/8 inch, following this detailed blind measurement guide. Measure width at the top, middle, and bottom, then height at the left, center, and right. For an inside mount, use the narrowest width and longest height. Record frame depth, handle clearance, and whether the frame is square before ordering.
Outside mounts need enough coverage to control light around the glass, not merely cover the opening. Levolor's measuring guidance recommends adding about 3 inches to the opening's width and height for stronger privacy and light coverage. Check where the treatment will sit when closed, then open the window and confirm that the hardware will not block the handle or interfere with the sash.
Curtains require a different calculation. Fabric fullness commonly ranges from 1.5 to 3 times the window width, while stack-back can take 6 to 12 inches per side. A 6-inch stack-back adds 12 inches total to the finished width, so a narrow wall can make a seemingly generous curtain plan impractical. Use this guide to review curtain panel sizes and fullness. Allow 8 to 10 inches total for hems, and add length when clips or rings change the hanging point. Sailrite's window-treatment measuring guide explains these calculations.
Measuring and Budget Quick Reference
| Treatment | Width Formula | Height Formula | Typical DIY Cost |
|---|---|---|---|
| Ready-made curtains | Window width multiplied by fullness, plus stack-back | Rod position to finished hem, plus hem allowance | Lower budget |
| Cut-to-size cellular shade | Narrowest inside width, or opening plus planned outside overlap | Longest inside height, or opening plus outside coverage | Mid-range |
| Basic blinds | Narrowest inside width, longest height | Use the opening height and confirm product clearance | Lower to mid-range |
| Custom treatment | Fabrication based on verified measurements | Fabrication based on verified measurements and mounting choice | Higher, for precision |
Material, size, lining, hardware, and fabrication affect the final price. Ready-made panels and simple hardware usually suit a tight budget. Cut-to-size shades occupy a middle ground. Custom work becomes more reasonable when the frame is out of square, the window has a specialty shape, lining or precise light control matters, or stack-back leaves too little usable wall space. At that point, repeated corrections can cost more than calling the Freehold showroom before ordering.
A printable worksheet should list:
- Room and window name.
- Width at top, middle, and bottom.
- Height at left, center, and right.
- Frame depth and handle clearance.
- Inside or outside mount.
- Desired light control.
- Open position and stack-back.
- Hardware, anchors, screws, and return-policy notes.
Include drywall anchors, longer screws for plaster, a second pair of hands, and the possible return trip for one missing bracket. Writing these costs down makes the DIY budget reflect the whole installation.
Choosing the Right Treatment for Each Room
A living room, kitchen, and bedroom rarely need the same window solution. Curtains bring softness and can make a window feel taller, but they need wall space for the rod and enough room to stack beside the glass. Blinds offer direct control and a compact profile, while shades keep the appearance simpler and often provide stronger privacy or blackout performance.
Match the treatment to daily use
Curtains suit living rooms where texture, softness, and stack-back are part of the design. The beginner's failure point is panel length. If the installer measures from the top of the window instead of the final rod position, panels may pool on the floor or stop short of the intended finish.
Aluminum or faux-wood blinds work well in kitchens and baths because smooth surfaces are easier to maintain than many fabric treatments. The installer still needs to check cord management, handle clearance, and whether moisture exposure makes the chosen material appropriate.
Roller and cellular shades are sensible for bedrooms that need a low-profile treatment with privacy or blackout control. Cellular shades also connect appearance with comfort. A U.S. Department of Energy factsheet identifies energy performance benefits for cellular shades, and related guidance places many energy-efficient window coverings at R-2 to R-4, a range that can materially improve the insulating performance of a window assembly. The Department of Energy cellular-shades factsheet explains the performance principles.
Simple flat Roman shades suit dining rooms that need a clean finish without motorization. They demand more care than a basic roller shade because lining, folds, and mounting depth affect how the shade raises. Poor lining choices can make the folds cup or sit unevenly.
| Treatment | Best Rooms | Light Control | DIY Skill |
|---|---|---|---|
| Curtains | Living rooms, dining rooms, doors | Decorative to strong, depending on lining | Beginner to intermediate |
| Blinds | Kitchens, baths, offices | Adjustable daylight and privacy | Beginner |
| Roller shades | Bedrooms, offices, compact windows | Light-filtering or blackout | Beginner to intermediate |
| Cellular shades | Bedrooms, offices, comfort-focused rooms | Diffused light to blackout | Intermediate |
| Flat Roman shades | Dining rooms, bedrooms, refined spaces | Moderate to strong, depending on lining | Intermediate |
Maintenance also affects the choice. Fabric panels should be cleaned according to their construction, and homeowners who want professional care can review the SG curtain wash service from Tumble Laundry for guidance on curtain cleaning. For a living room-specific starting point, the living-room window-treatment guide can help narrow the visual and functional options.
Hanging Rods, Brackets, and Hardware the Right Way
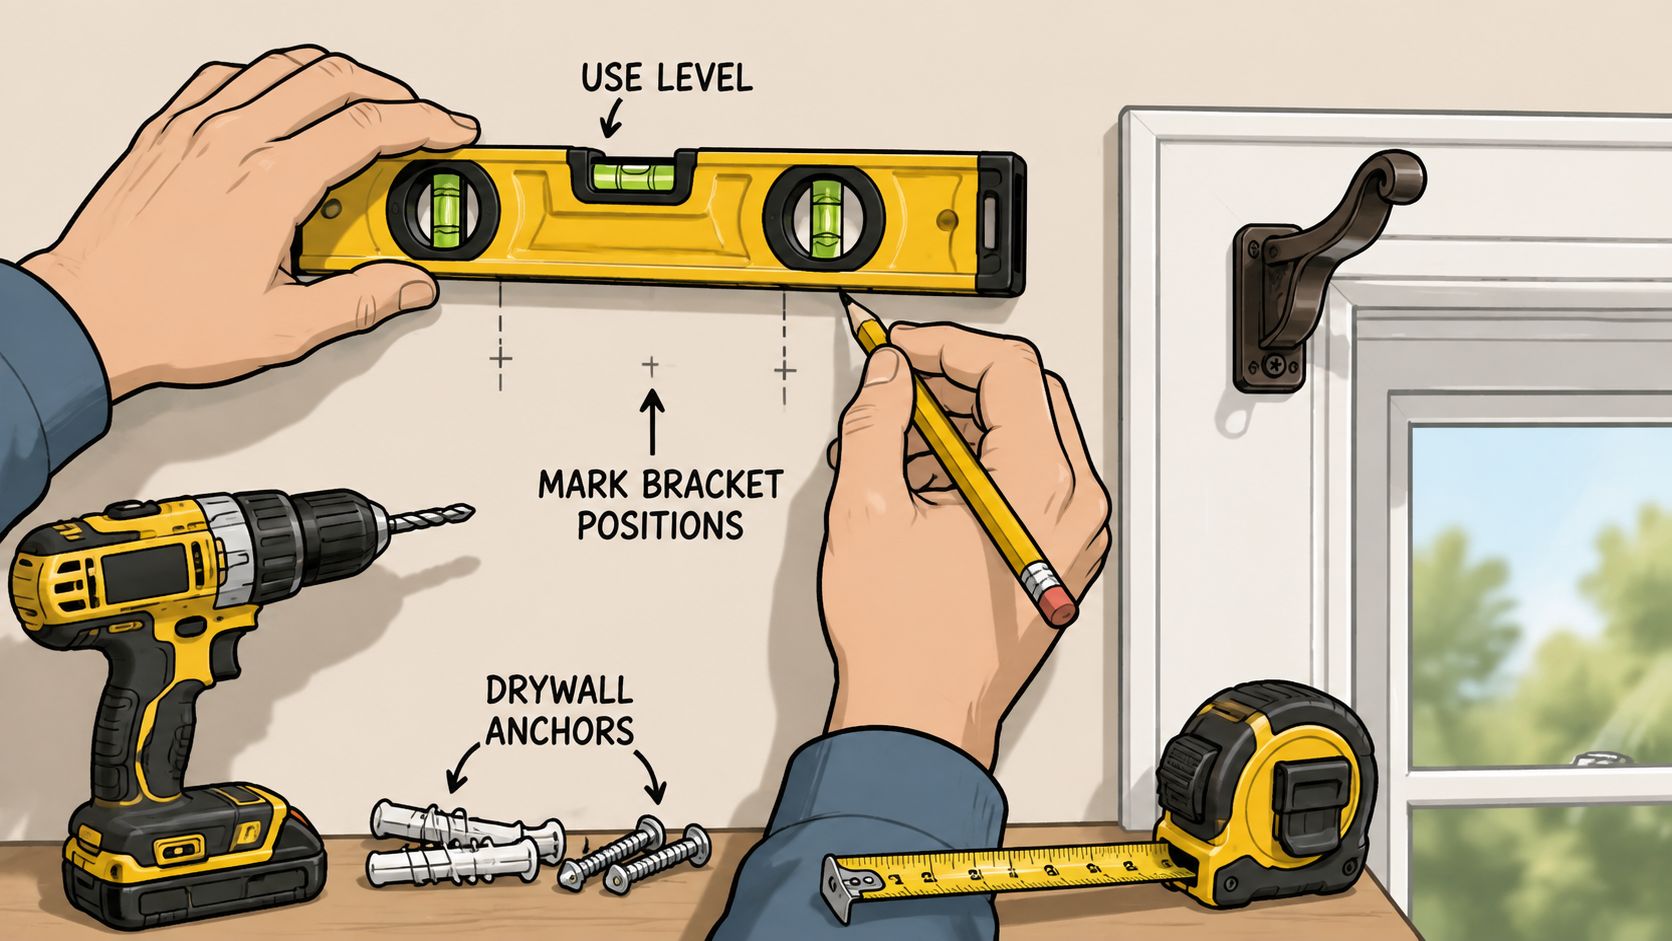
A straight rod starts with the wall, not the fabric. Drywall needs appropriate anchors unless the bracket lands on a stud. Plaster often benefits from longer screws and carefully selected anchors because the surface can chip or crumble around a wandering bit.
Mark the bracket positions with a pencil, then make a small center punch or starter divot before drilling. That shallow mark keeps the bit from skating across painted plaster or drywall. For a rod longer than 48 inches, use a center support and space the brackets so the rod doesn't sag under the combined weight of panels and hardware.
Build a level installation
A laser line helps establish a consistent bracket height across a wide wall. If the wall or trim is uneven, small shims behind a bracket can correct the face without forcing the rod out of alignment. A standard level remains useful for checking the rod itself after it's placed on the supports.
Mounting style changes the sequence:
- Rod-pocket panels: Thread the rod through the sewn pocket, then place the rod on the brackets. This style can be difficult to open smoothly because the fabric drags across the rod.
- Clip rings: Attach the clips at even intervals, checking that the panel hangs at the intended height. Clips can change the finished drop, so the measurement should run from the clip point, not merely from the rod.
- Traverse rods: Confirm the carriers move before installing the rod permanently. The track must remain level, and the return at each end should bring the fabric back toward the wall.
For blinds and shades, an inside mount requires careful clearance. Use the narrowest measured width, follow the product's deduction instructions, and confirm that the finished width includes the necessary 1/8-inch deductions that prevent binding. Outside mounts need enough overlap to cover side gaps and enough projection to clear trim, handles, or a deep stool.
Installation check: Operate the treatment several times before tightening every final screw. Smooth movement often reveals a bracket that's slightly twisted or a rod that isn't fully seated.
After hanging, inspect the top, sides, and bottom in daylight. A return can block side light, a properly placed outside mount can cover an uneven frame, and a shade that clears the handle will remain usable instead of becoming a decorative obstacle. Homeowners considering Roman shades can also review Roman shade installation guidance before drilling.
Solving Tricky Windows Without Calling for Backup
A standard rectangular window is the easy case. The frustrating projects usually involve an arch, a bay, a deep casing, a door, or a narrow sidelight. Each one becomes more manageable when the window is treated as a group of surfaces rather than as a single glass opening.
An arched window in a Freehold living room may have a rectangular section beneath the curve. A practical approach is to mount a shade above the arch line when the goal is privacy or darkness for the full opening. The shade then covers the window as one visual unit, while the arch remains visible when the treatment is raised.
Bay windows need more than one measurement. Measure each section at three points, check the corner angles, and plan the rod before ordering. A corner connector can create a continuous rod, but the installer still needs enough clearance for the panels to turn without jamming.
Handle the awkward openings
A deep casement can push a standard rod too far into the room or leave the panels rubbing the sill. Extension brackets move the rod beyond the stool and create space for the window to operate. The bracket must still land on a secure mounting surface, and the open panels need enough stack-back to clear the casement.
French doors need hardware that moves with the door rather than relying on a stationary wall rod. Door-mounted brackets keep the panel aligned with the glass and prevent the fabric from hanging loose when the door opens. A dedicated guide to curtains over French doors can help homeowners think through the clearance and operating direction.
Skylights call for a different strategy. Measure from glass to glass, confirm the frame depth, and use a tension-based solution only when the opening and product are suited to it. Narrow sidelights can take café curtains on tension rods, preserving daylight while adding privacy without a large wall-mounted assembly.
The common thread: Difficult windows fail when the treatment is ordered from the glass size alone. The frame, trim, handles, opening path, and fabric stack all need a place on the worksheet.
For curtains, calculate the stack before ordering. If the panels need to clear the glass, the rod should extend far enough beyond the opening to hold the gathered fabric outside the viewing area. If the wall is too narrow for that extension, a shade or split treatment may be more practical than forcing full-width panels into a cramped space.
When DIY Ends and Custom Help Begins
You finish hanging the curtains, step back, and still see a bright strip beside the frame. The problem may not be the fabric. An out-of-square opening, an uneven wall, or insufficient stack-back can turn a reasonable DIY plan into an expensive correction.
DIY fits a standard window, accessible mounting surface, simple treatment, and a homeowner who can accept small visual differences. Custom help becomes more economical when a mistake means replacing made-to-measure materials, delaying the room, or living with persistent light gaps.
Use four questions before deciding:
- How complex is the opening? Standard rectangles are manageable. Arches, bays, skylights, French doors, deep casements, and uneven frames increase the risk.
- How urgent is the timeline? A bedroom that needs privacy quickly may suit a straightforward ready-made treatment. A whole-home project benefits from coordinated planning.
- Which tools and skills are available? A level, drill, anchors, safe ladder, and helper reduce installation problems.
- How much imperfection is acceptable? A small gap may be tolerable in a decorative dining room, but frustrating in a blackout bedroom.
DIY vs. Custom Service Decision Matrix
| Scenario | DIY Makes Sense | Custom Service Is the Better Call |
|---|---|---|
| Standard rectangular window | Simple shade or curtain rod with accessible mounting | Not usually necessary |
| Repeated measuring errors | Only if every opening can be rechecked | Better when returns and reordering add cost |
| Motorization | Rarely the easiest first project | Better when wiring, controls, or coordinated operation matter |
| Oversized window above 96 inches | Only with suitable hardware and reliable support | Better when weight, span, and fabrication need precision |
| Specialty shape | Temporary or decorative coverage | Better for arches, bays, skylights, and unusual angles |
| Rental home | Removable tension solutions where appropriate | Better when installation mistakes could create penalties |
| Layered treatments | DIY when each layer has independent clearance | Better when brackets, returns, and fabrics must align |
Homeowners can use custom window-treatment design services for measuring, fabrication, specialty hardware, or fabric coordination, then complete final hanging and adjustments independently. Tip Top Furniture & Mattresses offers window-treatment estimates and in-home measuring, works with local sewing shops on customized treatments, and carries window-covering options from established manufacturers. Its professional design services have been available since 1984, and its family-owned Freehold showroom has served the area since 1978.
For a broader furnishing project, the showroom also handles window treatments alongside flooring, furniture, décor, USA-made mattresses, Amish furniture handcrafted in the USA, custom ordering, clearance selections, delivery, and flexible financing. Coordinating these choices can help fabric, floor color, furniture scale, and light control work together throughout the home.
The tipping point is practical. If another mismeasure, specialty shape, oversized span, or difficult installation could cost more than a consultation, custom help protects the original DIY budget rather than adding an unnecessary upgrade.
Tip Top Furniture & Mattresses can help homeowners in Freehold and the Greater Albany Capital Region plan, measure, and coordinate window treatments with furniture, flooring, and décor. Visit Tip Top Furniture & Mattresses to discuss custom options, financing, delivery, or a showroom consultation before the next drill hole becomes an expensive correction.