How to Refinish Wood Furniture: A Step-by-Step Guide to Restore Your Finish
Refinishing wood furniture is a fantastic way to bring a cherished piece back to life. It's a process of stripping off the old, tired finish, sanding the wood smooth, and then applying a fresh stain and a protective topcoat. You're not just updating it; you're preserving its history for years to come.
Giving Your Cherished Wood Furniture a Second Life
Thinking about reviving a beloved piece of wood furniture? You're in good company. Refinishing is so much more than a weekend DIY project. It’s a way to honor the stories held within a dining table that’s seen countless family dinners or a dresser passed down through generations. Here in the Greater Albany Capital Region, we appreciate things with history and character.
At Tip Top Furniture & Mattresses, we're a family-owned business that has been serving our community from our Freehold showroom since 1978. As your helpful, local experts, we've seen firsthand how a little care and effort can completely transform a piece of furniture. This guide is packed with our 45+ years of hands-on experience, giving you practical, trustworthy advice to help you restore your furniture’s original beauty.
Why Refinishing Is Worth the Effort
Choosing to refinish is a smart, sustainable choice that’s becoming more popular with homeowners. It shows a real shift toward breathing new life into cherished pieces instead of just buying new. Plus, experts estimate that refinishing can cost 30-50% less than buying a comparable new piece.
Tackling a project like this lets you:
- Preserve Family History: Keep sentimental heirloom pieces in the family for future generations to enjoy.
- Customize Your Style: Update a dated finish to perfectly match your current home décor. This is the heart of what our Custom Ordering options are all about.
- Achieve a High-End Look: Uncover the stunning, natural wood grain hidden beneath layers of old paint or a worn-out varnish.
- Save Money: Restoration is almost always more affordable than purchasing brand-new, high-quality solid wood furniture.
If you’re looking for a great overview of the whole process before you dive in, this How to Restore Wooden Furniture: A Practical Guide offers some valuable insights. A good restoration project builds on the same core ideas we talk about in our guide on how to care for wood furniture, making sure all your hard work lasts.
Prepping For Success: Your Toolkit and Assessment
Jumping into a refinishing project without a plan is a bit like taking a road trip without a map—you might get there eventually, but it won’t be a smooth ride. A thorough assessment is honestly the most important first step you'll take. It dictates your tools, techniques, and timeline, making sure the final result is something you’re truly proud of.
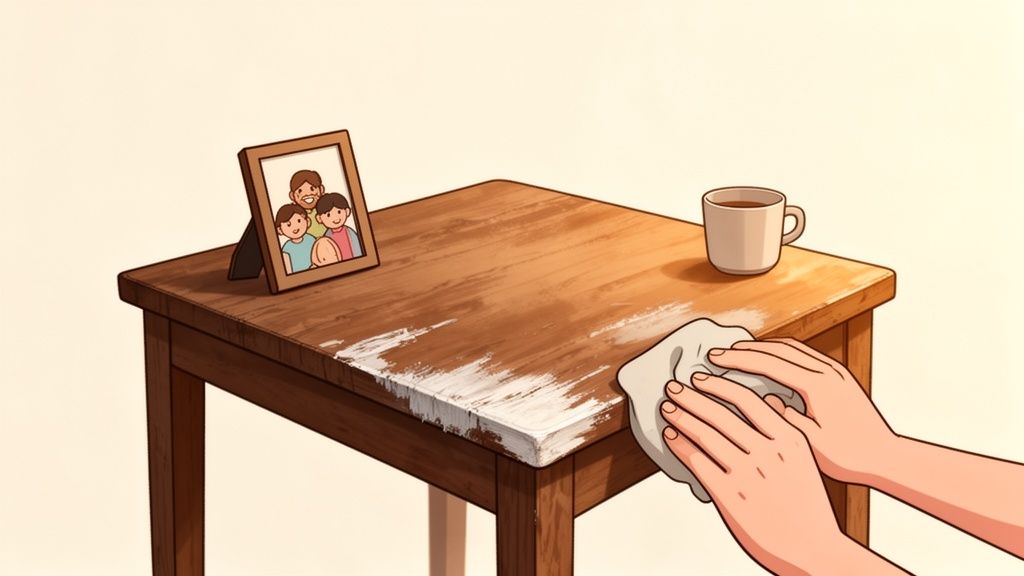
Before you even think about touching sandpaper, give your furniture a good, deep cleaning. This is more than just dusting; you need to get rid of years of built-up furniture polish, oils, wax, and general grime. A simple solution of warm water and a mild degreasing soap usually does the trick. You'll find that tips for specialized tasks like cleaning teak furniture offer great insights that can be applied to almost any wood surface.
Is It Solid Wood or Veneer?
Next up, you have to figure out what you're really working with. Is it solid wood, like the durable, heirloom-quality Amish furniture we feature in our Freehold showroom, or is it a more delicate veneer? This is a critical distinction. You can sand solid wood pretty aggressively, but a thin veneer requires a much, much gentler touch.
Here's a quick way to tell:
- Check the Edges: Look at the edge of a tabletop or drawer front. If the wood grain pattern wraps cleanly around and matches the top surface, you're almost certainly looking at solid wood.
- Look Underneath: Flip the piece over if you can. If the underside shows the same beautiful wood grain as the top, that's another strong sign of solid wood.
- Identify the Core: On a veneered piece, you might spot a thin line along the edge where the top layer meets the core. This core material is often particleboard or a less expensive type of wood.
Identify the Existing Finish
Knowing what you're trying to remove helps you choose the smartest method. You can do a quick spot test with a cotton swab in a hidden area, like the back of a leg or inside a drawer.
- Denatured Alcohol: If the finish gets sticky or starts to dissolve, it’s probably shellac.
- Lacquer Thinner: If this solvent makes the finish soften or come off, it's most likely lacquer.
- Neither: If both tests do nothing, you're dealing with a tough modern finish like varnish or polyurethane. This means you've got a bit more work ahead of you.
Choosing Your Removal Method Stripper vs Sanding
Once you know the wood and the finish, it's time to decide how you'll get that old coat off. Both chemical strippers and sanding have their pros and cons, and the right choice really depends on your specific piece of furniture.
To help you decide, here’s a quick breakdown of what to expect from each method.
Choosing Your Removal Method Stripper vs Sanding
| Factor | Chemical Stripper | Sanding | Best For |
|---|---|---|---|
| Effort | Less physical labor, but the cleanup is messy. Involves scraping and neutralizing. | More physically demanding and creates a lot of dust, but you have direct control. | Stripper: Intricate carvings, multiple layers of paint, delicate veneers. |
| Time | Can be faster for thick finishes, but you have to wait for the chemical to do its job. | Can be time-consuming, especially when working on large, flat surfaces. | Sanding: Flat surfaces, removing a single, thin coat of varnish, smoothing wood. |
| Safety | Requires excellent ventilation, chemical-resistant gloves, and eye protection due to harsh fumes. | A dust mask or respirator is non-negotiable to avoid inhaling fine wood dust. | Either method requires you to take safety gear seriously. |
| Detail Work | Fantastic for getting into crevices, corners, and detailed carvings. | Very difficult to use on detailed areas without accidentally rounding over the wood's profile. | Stripper is the clear winner for any spot a sander can't easily reach. |
No matter which path you take, starting with the right supplies makes all the difference. Both stripping and sanding will get the job done, but choosing the one that best fits your project and patience level is key to a beautiful finish.
Local Pro Tip: For our neighbors in the Albany Capital Region, the local hardware stores in towns like Troy or Schenectady are fantastic for finding a wide range of strippers, sandpapers, and other supplies. Don't be afraid to ask the staff for their recommendations.
Bringing the Wood Back to Life From Stripping to Staining
Once the old finish is gone, you're looking at a clean slate—the bare wood, ready for its new look. This is where the real artistry begins. We've guided countless customers in our Freehold, NY showroom through this stage, and trust us, it’s one of the most rewarding parts of the whole process.
Before you even think about staining, though, a few key prep stages are absolutely essential.
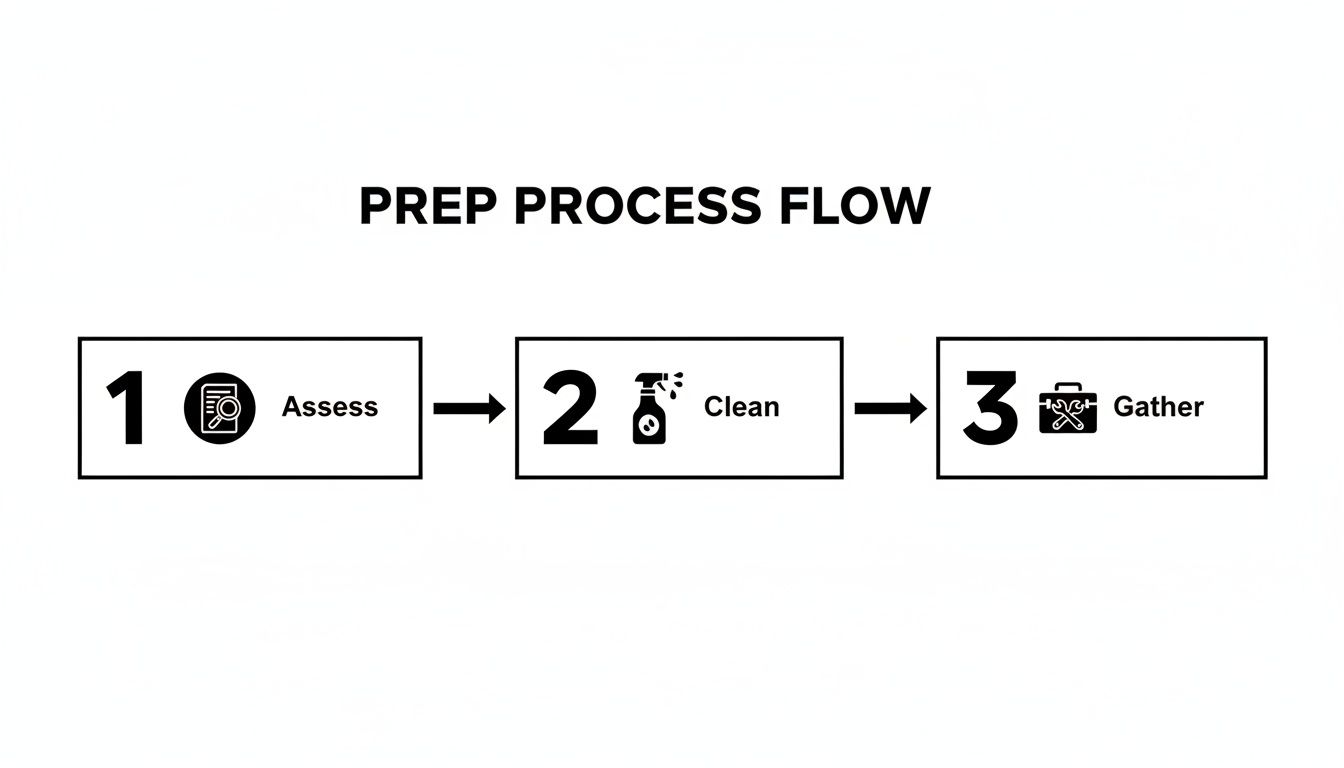
A great finish is always built on a solid foundation. That means careful assessment, thorough cleaning, and getting your tools in order before you start.
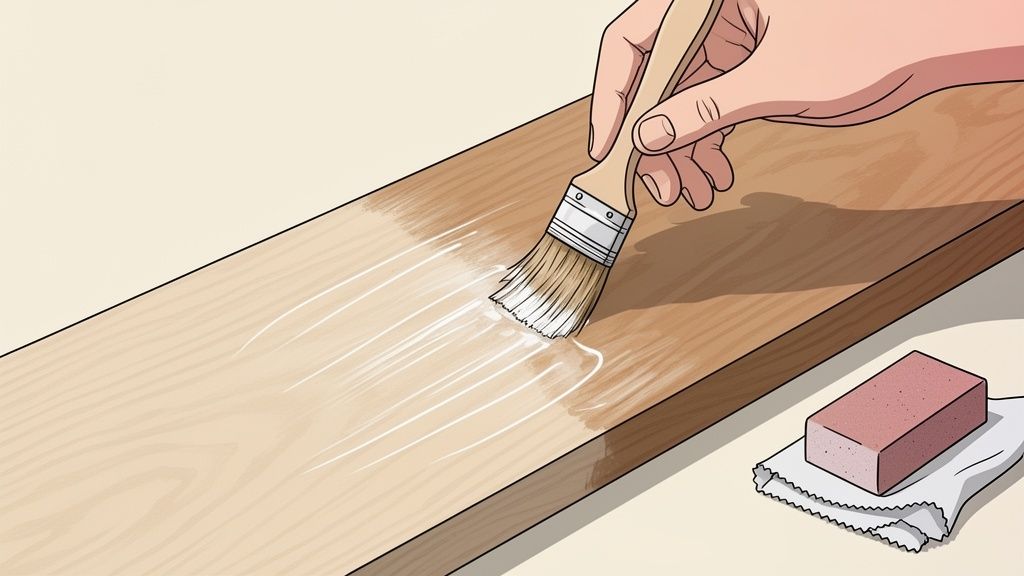
The Gentle Art of Sanding
Whether you used a chemical stripper or just sandpaper to remove the old finish, your next job is to create a perfectly smooth surface. This is done with a progressive grit system—a fancy term for starting with coarser sandpaper and working your way up to finer grits.
Think of it like polishing a gem; each finer grit buffs out the scratches left by the one before it. For most furniture, a good progression is starting with 120-grit, moving to 150-grit, and finishing with a silky-smooth 180 or 220-grit paper.
A few best practices from our workshop:
- Always sand with the grain. Going against it creates nasty cross-grain scratches that stain will highlight in the worst way.
- Don't press too hard. Let the sandpaper do the work. Pushing down can create little divots and an uneven surface.
- Wipe away dust between grits. Use a tack cloth or a rag lightly dampened with mineral spirits. This clears the slate so you aren't just grinding leftover grit into the wood.
This careful sanding is what separates an amateur job from a professional one. It’s the kind of quality craftsmanship that ensures a piece will truly stand the test of time.
Preparing the Wood for an Even Stain
Before you pop open that can of stain, there’s one step most beginners skip: applying a wood conditioner. This is an absolute must for porous woods like pine, birch, and maple, which are notorious for getting splotchy.
A pre-stain wood conditioner is a thin, sealer-like liquid that you wipe onto the bare wood. It helps the pores absorb the stain evenly instead of drinking it up in random patches.
Our Pro Tip: Apply the conditioner, let it sit for the time recommended on the can (usually 5-15 minutes), and then wipe off the excess. You want to apply your stain while the wood is still "wet" with conditioner, typically within two hours.
After conditioning, give the piece one last wipe with a tack cloth to make sure the surface is pristine. Any dust left behind will get trapped in the stain and create a gritty, rough texture.
Choosing and Applying the Perfect Stain
Now for the fun part: adding color! The stain you choose defines the character of your piece, whether you’re going for a deep walnut or a light, natural oak.
Always test your stain first! Find an inconspicuous spot, like the underside of a tabletop or the back of a leg, and apply your stain there. It's the only way to know for sure how the color will look on your specific piece of wood.
When you're ready for the main event, here’s how to get a rich, even coat:
- Stir, Don't Shake: Gently stir the stain. Shaking it creates air bubbles that can mess up your finish.
- Use the Right Tool: A simple lint-free cloth, like an old t-shirt, gives you fantastic control. A foam brush is also handy for getting into tight corners.
- Apply Liberally and Evenly: Work in manageable sections, applying the stain with the grain and making sure the entire surface is wet.
- Wipe Off the Excess: This is the most important step. Let the stain penetrate for 5-15 minutes (check the can's instructions!), then use a clean, dry cloth to wipe away all the excess, again moving with the grain. The final color comes from what the wood absorbs, not what’s sitting on top.
Want a darker color? You can apply a second coat after the first has completely dried. Building up thin layers almost always looks better than one heavy, dark coat.
Matching an existing finish can be really tricky. If you're trying to get a new piece to match an old favorite, our Custom Order services can be a huge help in getting the color and tone just right. For similar projects, you might also find our guide on adding doors to a bookcase useful.
Applying a Topcoat for Lasting Protection
You’ve put in all the hard work stripping, sanding, and staining. Now comes the final, critical step: the topcoat. Think of it as the invisible shield that protects your beautiful new finish from the realities of a busy Capital Region home—spilled coffee, water rings, and everyday scuffs. Choosing the right one is everything, as it determines both the look and the long-term durability of your piece.
The world of wood coatings can feel overwhelming, but it gets much simpler when you know the main players. An in-depth market report on wood coatings shows that durability is king, which is why polyurethane is so popular—it's simply unmatched for toughness. At the same time, water-based technology is gaining ground fast because of its low odor and easy cleanup, making it a fantastic choice for indoor DIY projects.
Choosing Your Protective Finish
The right topcoat really depends on how the piece will be used. A decorative side table in a quiet corner doesn't need the same armor as a dining room table that sees action every single day.
Here are the most common options you'll find at the hardware store:
- Oil-Based Polyurethane: This is the old-school workhorse of wood finishes. It gives you a highly durable, slightly amber-toned finish that stands up to water, heat, and scratches. It's our go-to for tabletops and other high-traffic surfaces.
- Water-Based Polyurethane: A great modern alternative. This finish dries crystal clear, has very little odor, and won't yellow over time like its oil-based cousin. Cleanup is a breeze with just soap and water.
- Lacquer: Often used by pros, lacquer creates a very hard, glossy finish and dries incredibly fast. It can be tricky for beginners to apply evenly and is best suited for spraying.
- Tung Oil or Danish Oil: These are known as "penetrating" finishes because they soak into the wood instead of forming a film on top. They create a beautiful, natural, low-sheen look that’s easy to repair, but they offer less protection against spills and scratches.
Application for a Flawless Finish
Getting that perfectly smooth, professional-looking surface is all about patience and technique. Rushing this final stage is a classic mistake that can undo all your careful prep work.
The secret is simple: apply multiple thin, even coats. A single thick coat will feel tacky forever and is a magnet for drips and bubbles.
Here's the process we’ve perfected over 45 years in the business:
- Stir Gently: Just like stain, always stir your topcoat—never shake it. Shaking creates tiny air bubbles that will ruin your smooth surface.
- Use a Quality Brush: A good natural bristle brush is best for oil-based finishes. For water-based products, a synthetic brush is the way to go.
- Apply a Thin Coat: Load your brush and apply the finish in long, smooth strokes, always moving with the wood grain. Overlap your strokes just a bit to ensure you don't miss any spots.
- Let It Dry Completely: Pay attention to the manufacturer's recommended drying time. This is not the step to rush.
- Sand Lightly Between Coats: Once the first coat is fully dry, very lightly sand the whole surface with fine-grit sandpaper (220-grit or higher). This scuffs it up just enough for the next coat to grab on to and smooths out any tiny dust particles.
- Clean and Repeat: Use a tack cloth to wipe away every speck of sanding dust. Then, apply your next thin coat. Two to three coats is standard for most projects.
For even more tips on keeping your furniture looking great long after the project is done, check out our ultimate guide to protecting wood furniture from scratches and stains.
Understanding Dry Time vs. Cure Time
This is a small detail that trips up a lot of DIYers, but the difference is critical for a long-lasting finish.
Dry time is how long it takes for the surface to stop being tacky. This might be a few hours or up to a day. Cure time is how long it takes for the finish to fully harden at a molecular level and reach maximum toughness. This can take anywhere from 7 to 30 days.
During that curing period, be gentle with your piece. Avoid placing heavy objects on it or using any harsh cleaners. Letting it cure properly is what ensures the protective shield you just applied will do its job for years to come.
Should You DIY or Call a Pro in the Albany Area?
There’s a special kind of pride that comes from refinishing a piece of furniture with your own hands. It's an incredibly satisfying project. But let's be honest, not every piece is a good candidate for a weekend warrior. Knowing when to roll up your sleeves versus when to call in a professional is the key to making sure your treasured furniture gets the star treatment it deserves.
The decision usually boils down to three things: the value of the piece, how complex the job is, and how much time and patience you personally have. That sturdy pine dresser you snagged at a flea market? Perfect for a DIY project. An heirloom secretary desk that’s been in your family for generations? That requires a little more thought.
When to Call in a Professional
Sometimes, the smartest move you can make is to let an expert handle it. For certain pieces, the risk of accidentally tanking its value or causing damage you can't undo is just too high. Here in the Greater Albany Capital Region, our team has the expertise to help you figure out the best way forward.
You should seriously consider professional help if your project involves:
- Valuable Antiques: Antique furniture often has that delicate, original patina that makes up a huge part of its value. One wrong move with an aggressive sander or a harsh chemical stripper can literally wipe away decades of character and kill its worth. Professionals know all about historic finishes and how to treat them.
- Intricate Details: Does your piece have a lot of fancy carvings, delicate spindles, or detailed fretwork? These spots are a nightmare to strip and sand evenly without causing damage. A pro has the right tools and a steady hand for navigating those tricky areas.
- Serious Structural Damage: Refinishing is one thing, but rebuilding is a whole other ballgame. If you're looking at major problems like broken legs, deep gouges, or severe water damage, you need the skills of a furniture restorer.
- Delicate Veneers: As we mentioned earlier, sanding right through a thin wood veneer is a common—and totally heartbreaking—mistake. An expert can assess the situation and perform the delicate repairs needed.
For our neighbors in Freehold, Albany, and the surrounding areas, our team at Tip Top Furniture has been building relationships with trusted local craftspeople since 1978. We’re always happy to connect you with the right expert for your project.
The Best of Both Worlds: A Custom Alternative
So, what if you love the look of a beautifully restored piece but just don't have the time—or even a piece to start with? Instead of refinishing an old piece, you can get the exact look you want with a brand-new, personalized item.
Our Custom Order options let you create that perfect, bespoke finish without any of the mess or guesswork. You get to pick the exact wood, stain, and hardware to bring your vision to life, ensuring it coordinates with a family heirloom or fits perfectly into your Albany home.
Better yet, our complimentary Professional Design Services, a cornerstone of our business since 1984, can help you blend that refinished piece seamlessly with new furniture. We’ll help you create a cohesive room that looks thoughtfully collected over time. And with our Flexible Financing options, either choice is simple and affordable.
Common Questions About Refinishing Furniture
Even with the best instructions, tackling a piece of furniture for the first time can feel a little daunting. Over our 45+ years, we've heard just about every question imaginable from customers visiting our Freehold showroom. Let's walk through some of the most common ones we hear from folks in the Albany Capital Region.
How Can I Tell if My Furniture Is Solid Wood or Veneer?
This is the first and most critical question. Get it wrong, and you could ruin your piece. The best way to check is to look at the edges of a tabletop or a drawer front. On solid wood furniture, the grain pattern will wrap right over the edge, showing the end grain. With veneer, you'll usually see a very fine line where that thin top layer of wood meets the core material. If you have veneer, be extremely gentle when sanding.
What Is the Biggest Mistake Beginners Make?
Hands down, the most common mistake we see is rushing the prep work. You simply can't get a beautiful finish without a perfectly prepared surface. This means people aren't cleaning the piece well enough, they're leaving bits of the old finish behind, or they're jumping straight to a fine-grit sandpaper. Another classic error is slapping stain onto a porous wood like pine without using a pre-stain wood conditioner first. Take your time with prep—it's the single best thing you can do.
Our Pro Tip: After sanding and just before you stain, run your bare hand over the surface. If you feel any rough patches, the stain will make them ten times more obvious. A silky-smooth surface is non-negotiable for a flawless finish.
How Long Does the New Finish Need to Fully Cure?
This is a crucial detail. There’s a huge difference between being "dry to the touch" and being "fully cured." Most oil-based topcoats like polyurethane will feel dry in 24 to 48 hours. But they won't be fully hardened and durable for up to 30 days! During that curing period, you have to be gentle with the piece—that means no heavy lamps, no sliding books, and no harsh cleaners. Always check the directions on the can for specifics. For more tips on long-term care, our guide on seasonal furniture maintenance is a great resource.
Can I Paint Over a Stained Finish Without Stripping It?
Yes, you absolutely can, provided you do the prep work right. You don't need to strip it all the way down to bare wood, but you can't just slap paint over a glossy topcoat and expect it to stick.
Here's the process:
- Clean Thoroughly: Use a good degreaser to get rid of every trace of oil, wax, and grime.
- Scuff-Sand: Lightly sand the entire piece with medium-grit sandpaper (around 180-220 grit is perfect). You're creating microscopic scratches that give the primer something to grab onto.
- Prime: After wiping away every speck of dust, apply a high-quality bonding primer. This is the magic step that ensures your paint will adhere properly.
Once that primer is completely dry, you're ready to paint with confidence, knowing it's going to stick and look fantastic.
At Tip Top Furniture & Mattresses, we believe in the lasting beauty of well-made furniture. Whether you're refinishing a family heirloom or looking for a new, USA-made piece to complete your home, our trusted team is here to help. We are your one-stop shop with local expertise.
Visit our Freehold, NY showroom to explore our collection of Amish and custom furniture.